4 Reasons Inflatable Seals Leak During Validation
A leak showing up during validation isn’t random. It usually traces back to small technical factors that only reveal themselves when real pressure, vacuum, and cleanliness conditions come into play.
From pharma isolators and glove ports to filling lines and containment systems, these are the most common reasons inflatable seals fail validation and the checks that prevent it.
1) Over-Pressure Stress Before Testing
Inflatable seals aren’t designed to be “pushed harder for extra safety.” Even mild over-inflation specially repeated during setup starts internal damage long before it’s visible.
Typical causes:
- Regulator drift over time
- Sudden pressure spikes
- “Let’s give it a little more air” habit
Instead of immediate failure, the internal reinforcement weakens slowly. Then validation pressure hold exposes the leak.
Preventive Standards
Parameter | Recommended |
|---|---|
Seal rating | 20–30% above working pressure |
Regulator check | Monthly calibration |
Inflation | Slow ramp-up, not sudden fill |
A seal that sees clean, controlled inflation cycles lasts longer and holds reliably under validation.
2) Material-Environment Mismatch
The right geometry with the wrong elastomer still fails. Cleaning chemicals, sterilization cycles, steam shock, solvents, and temperature swings quietly deteriorate unsuitable materials.
And when surface hardness changes even slightly air tightness drops.
Quick Compatibility Guide
Material | Works Best In | Avoid In |
|---|---|---|
EPDM | Steam, hot water, CIP | Oils, solvents |
Silicone | Sterile environments, temp swings | Abrasion, aggressive media |
FKM (Viton®) | Oils, solvents, chemicals | Continuous steam (unless rated) |
Reinforced Silicone | High cycling, long stroke | Sharp grooves without radius |
Matching material to media early prevents 90% of “mystery” validation leaks.
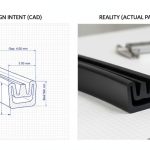
3) Surface Finish & Groove Tolerance Deviations
Inflatable seals don’t rely on just compression. They rely on uniform contact when inflated.
Tiny imperfections in the groove OR mating surface cause leak channels.
Common contributors:
- Rough machining marks
- No corner radius
- Seal stretched or twisted during seating
- Slight groove width variation
Key Specs to Check
Parameter | Target |
|---|---|
Surface finish | Ra < 32 µin |
Corner radius | >1 mm recommended |
Seal fitment | Relaxed seating, not stretched |
If the groove isn’t treated like a sealing surface, leakage risk increases sharply.
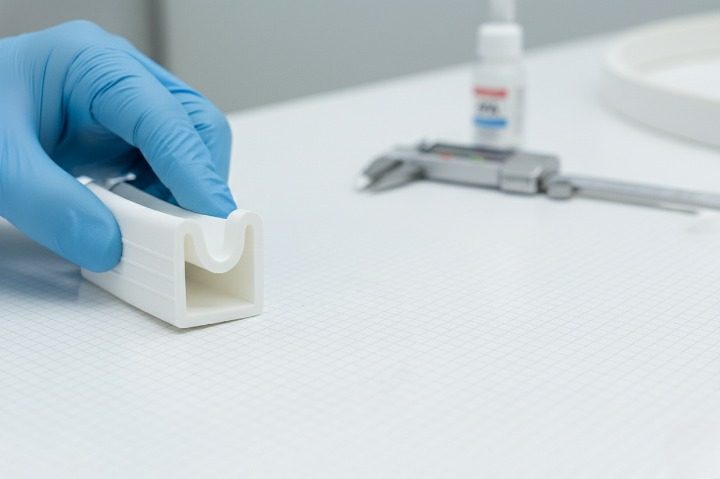
4) Contamination During Assembly
This one feels basic, but it’s one of the top real-world causes.
Dust, lint, oil from gloves, machining debris, anything sitting between the seal and surface becomes a leak path under vacuum and pressure.
Good practice:
- IPA + lint-free wipe before install
- No oily gloves or tools touching seals
- Quick visual check after seating
Clean handling is not “extra care”; it’s part of the sealing mechanism.
Share your drawing or application details.
We’ll review it and help ensure your seal passes validation the first time.

No comment yet, add your voice below!